Mesh Customization
4. Order a mesh generation job
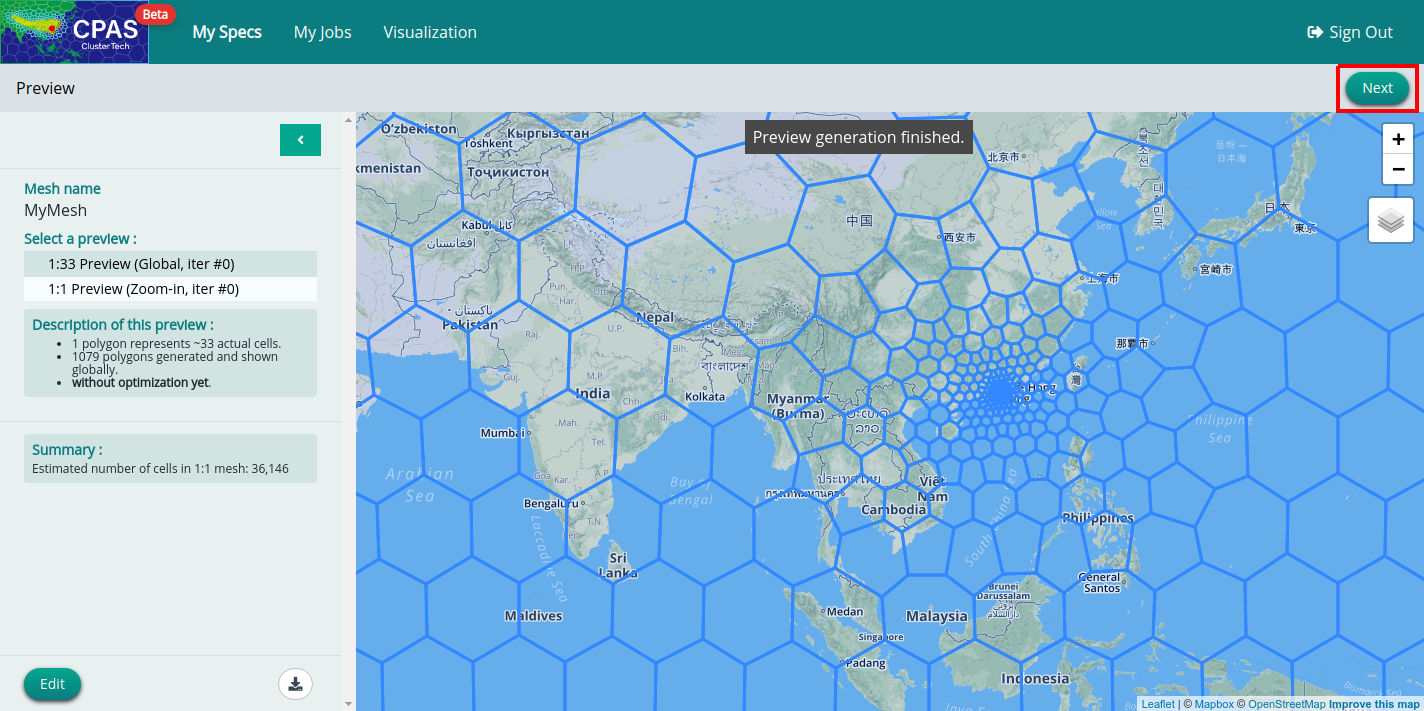
If you are satisfied with the mesh under preview, click the “Next” button in the top right corner.
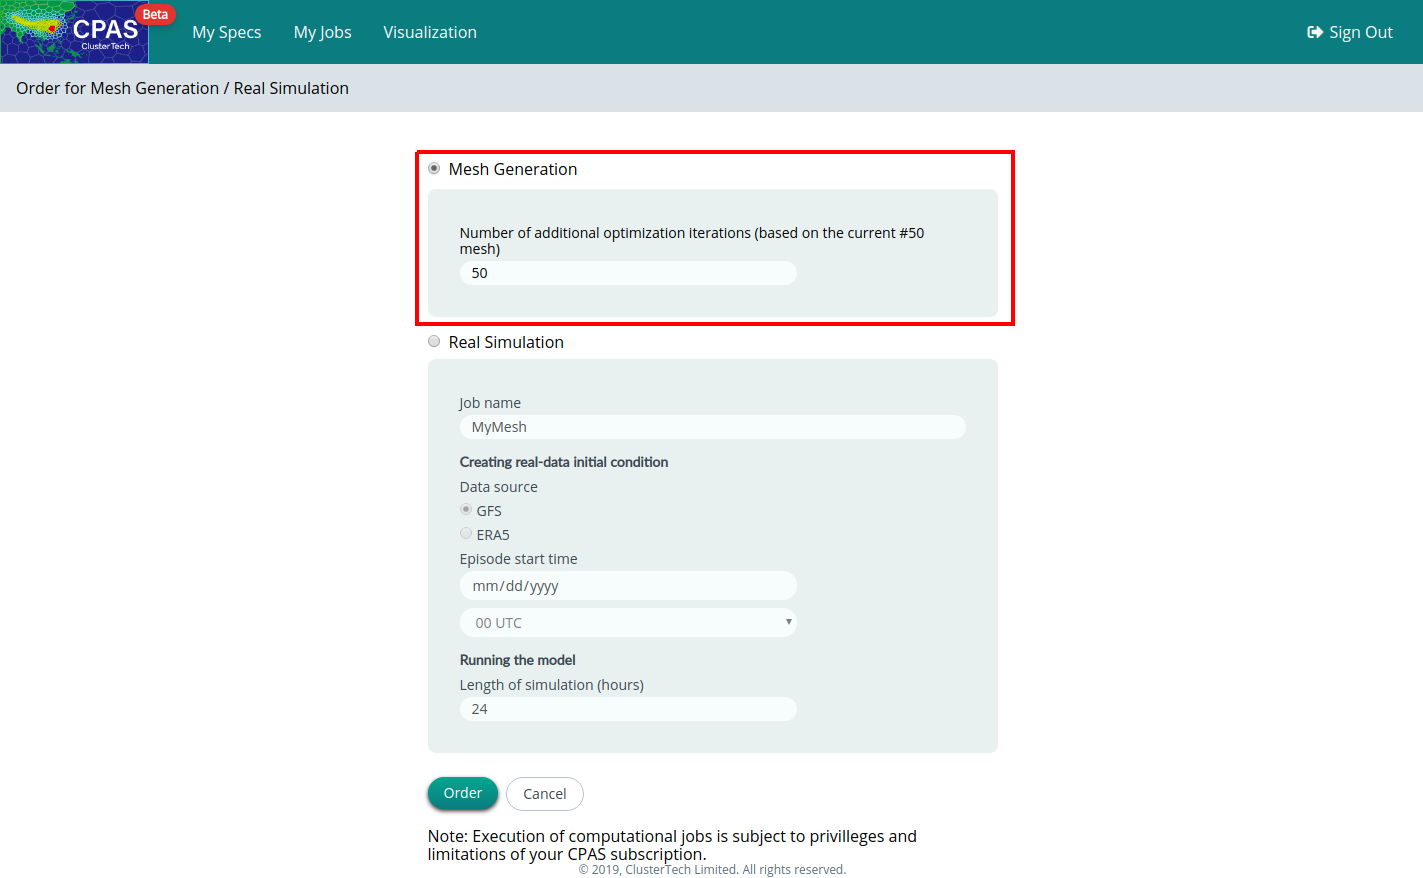
You will then be directed to the job order page providing Mesh Generation, Real Simulation or other jobs (The 'Real Simulation' section will be available after the mesh is generated). Enter the number of optimization iterations (or use default 50 iterations) for generating the mesh.
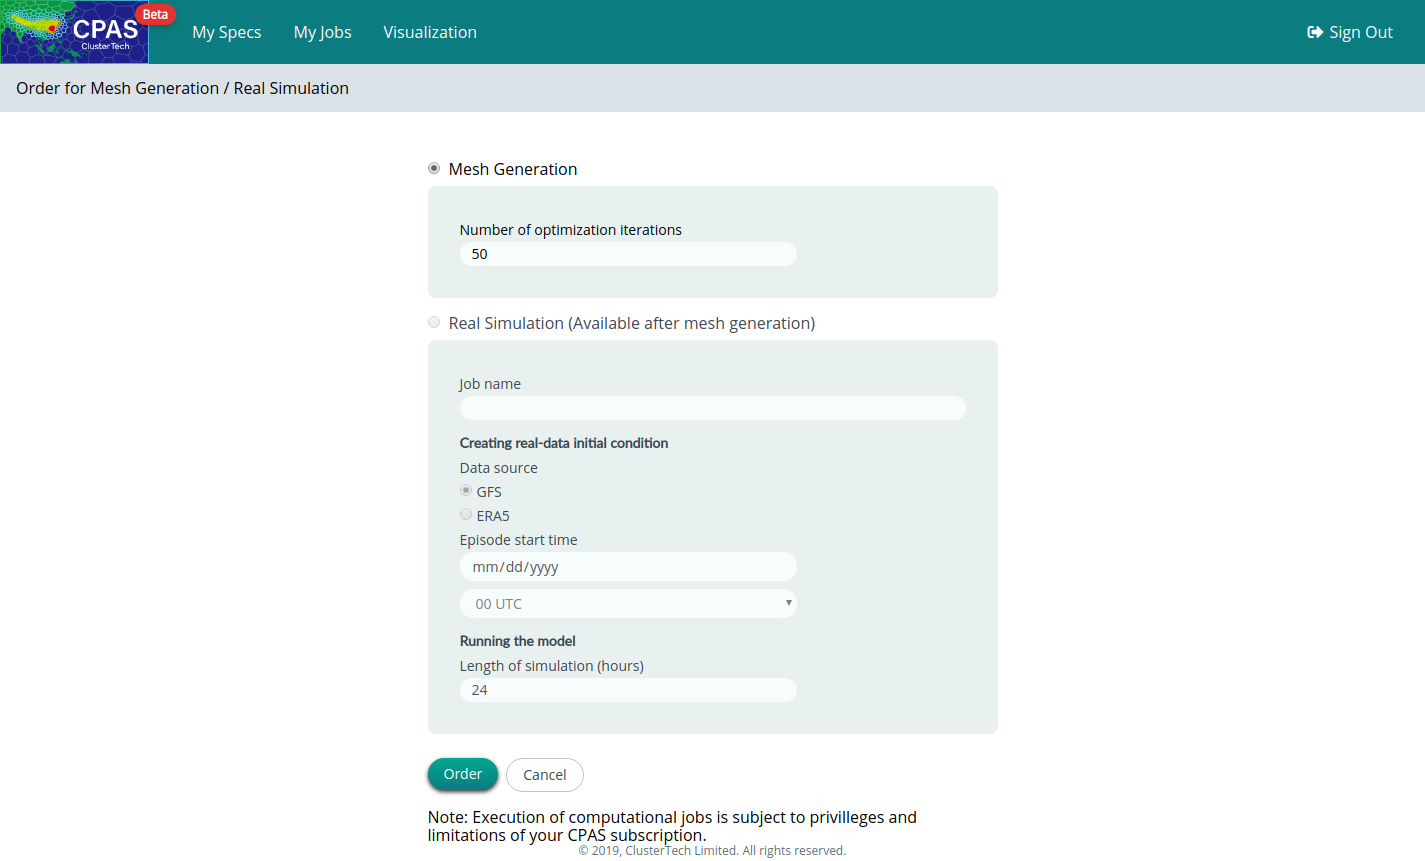
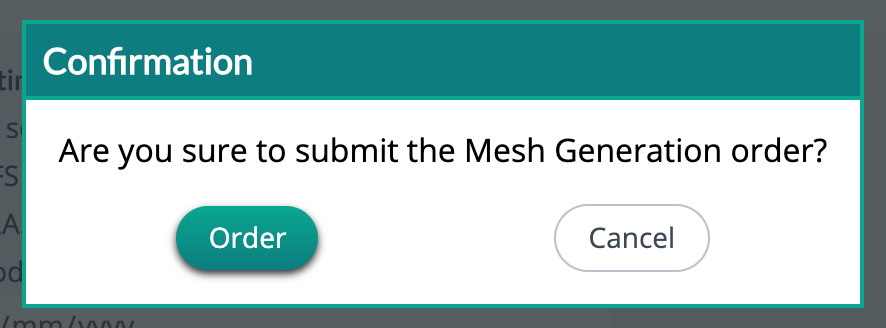
Scroll down and click “Order”, you will then be prompted for confirmation. Click “Order” to submit the mesh generation job, or click “Cancel” to return.
You will see the following screen showing your job name if the job is submitted successfully. Upon ordering, you can check the computational jobs by clicking “My Jobs” in the top menu bar.
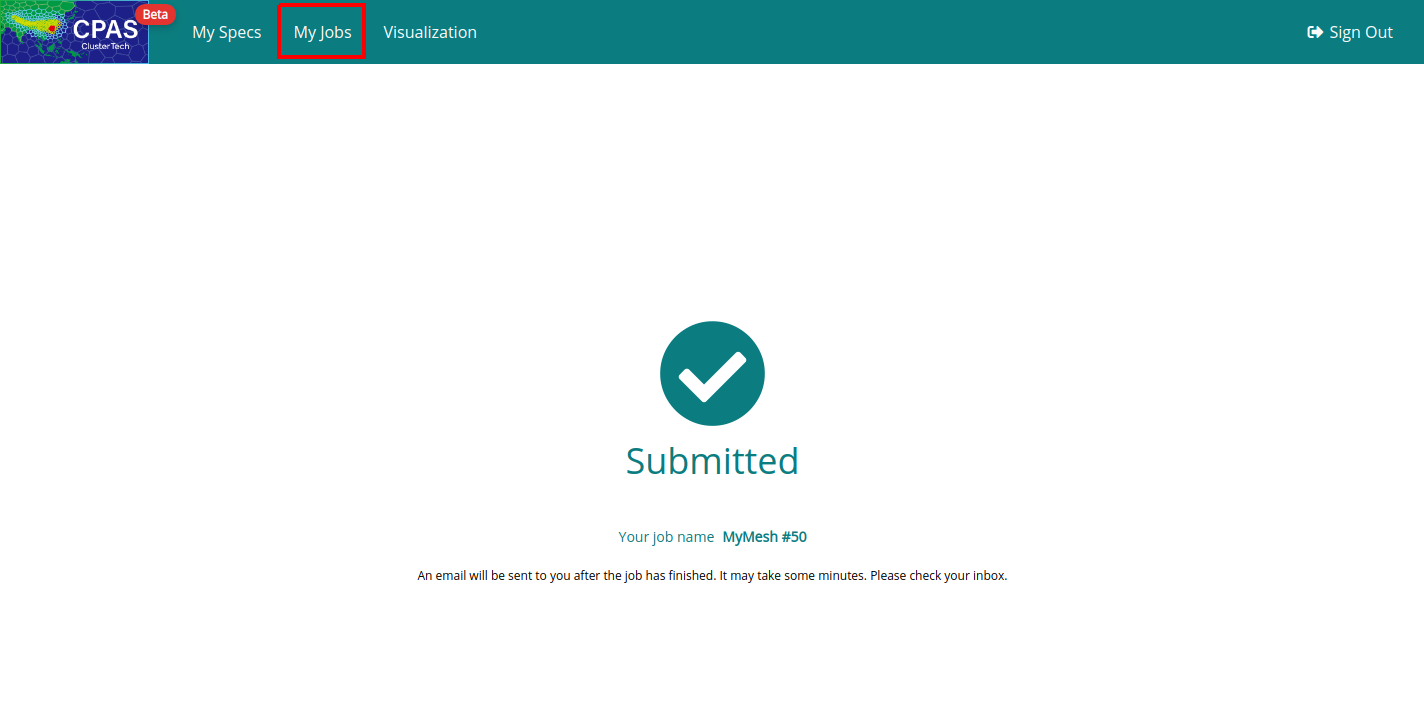
The 'Job Name' is a string containing 'Mesh Name' (former) and 'No. of optimization iterations' (latter).
The “My Jobs” page shows the job list of all ordered jobs (separated button for Mesh Generation jobs and Real Simulation jobs) in rows. For 'Mesh Generation', columns include Job Name, Order Time, Job Status, Report (available only for 'Completed' job) and Storage. The total storage used for an individual account is shown on the top right.
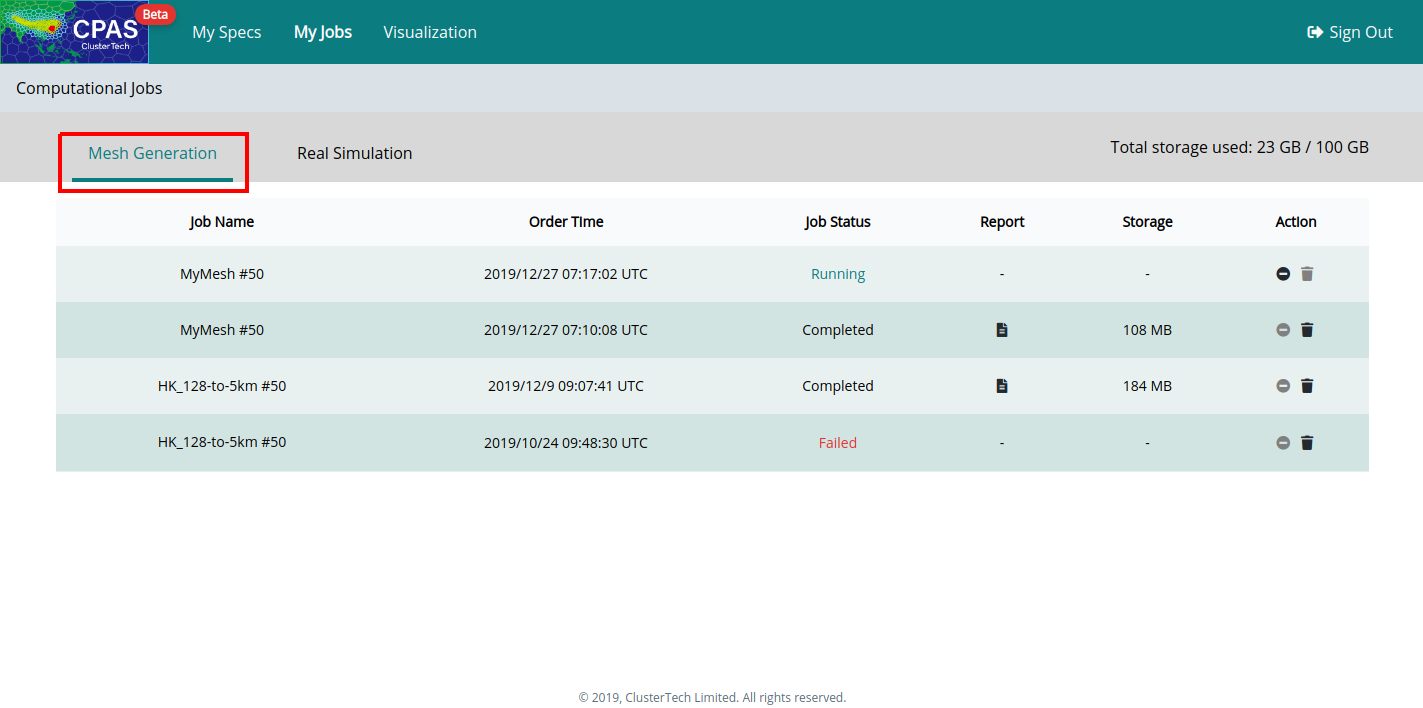
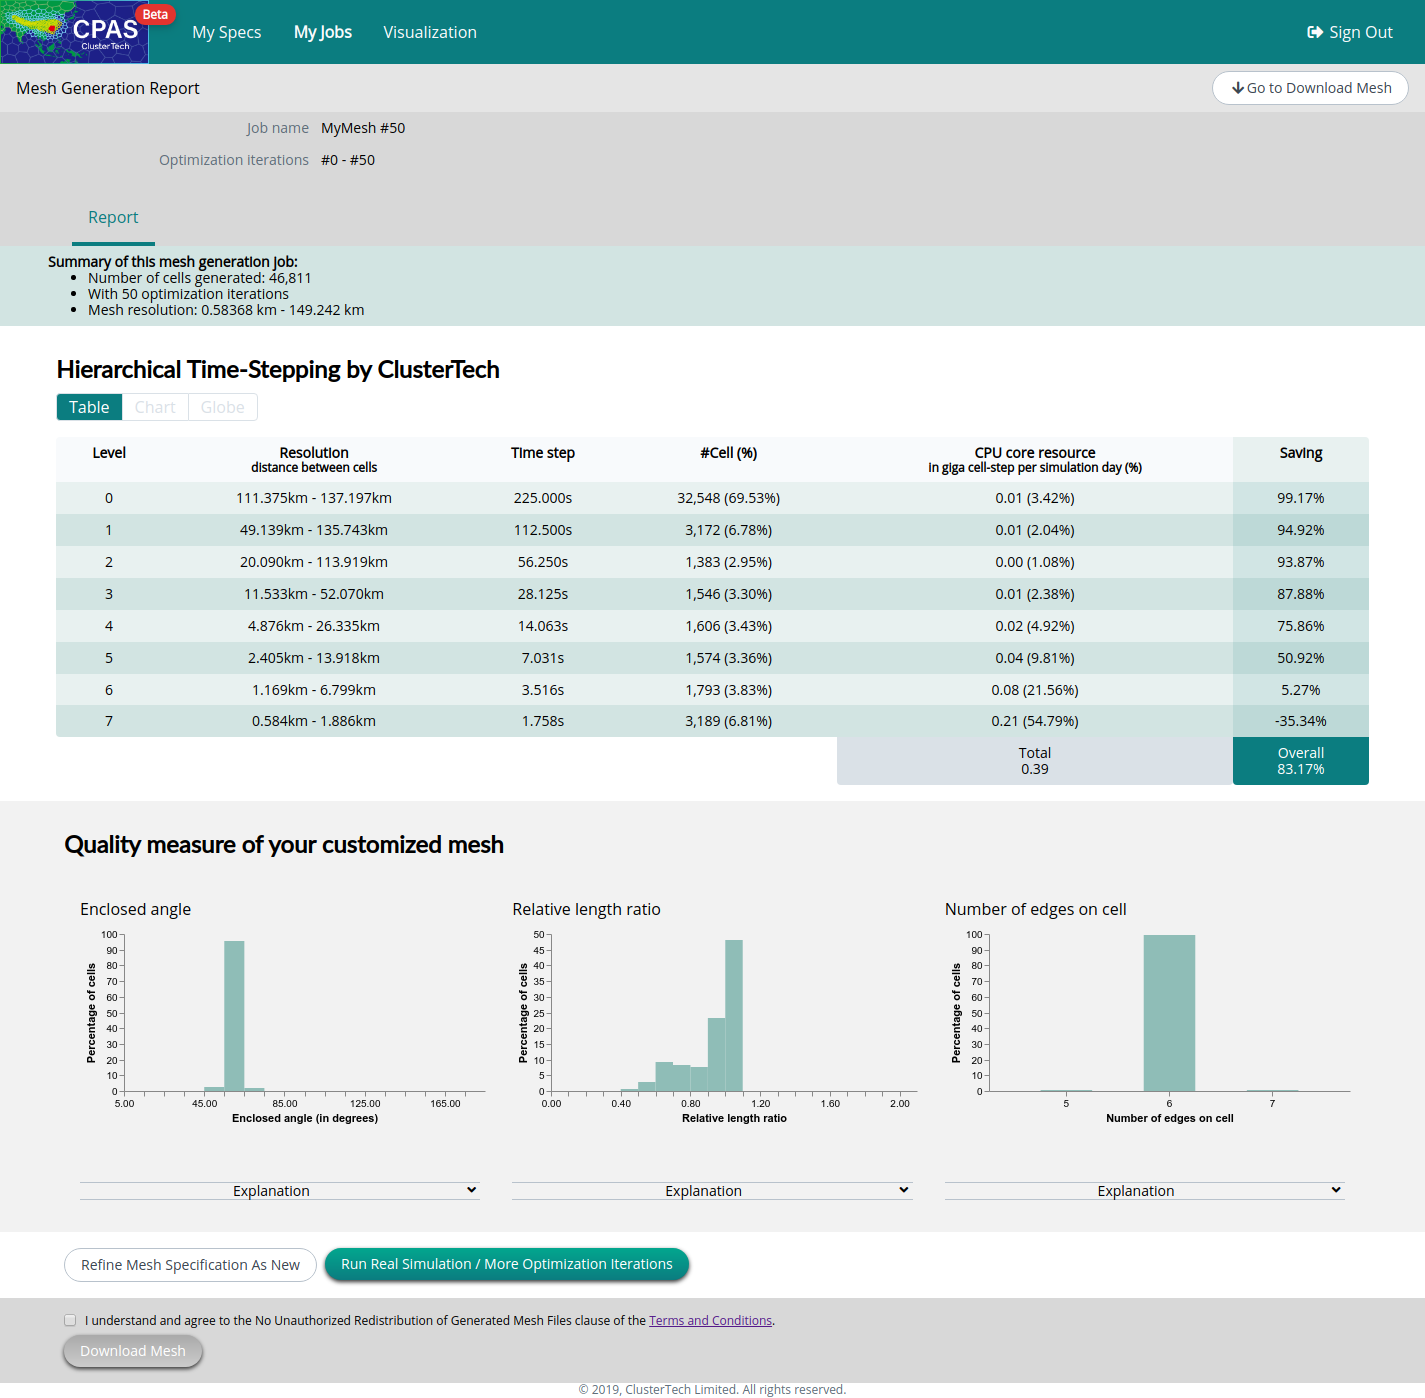
If not queued, the mesh generation job will usually take 20 minutes, while jobs that need processing geographical data will require more time. When the job is completed, the 'Job Status' will change from 'Running' to 'Completed', you will then receive a notification email with title prefix 'Successful CPAS job' and suffix of the job name, e.g. 'Successful CPAS job MyMesh #50'. The Mesh Generation Report can be opened either through the attached link in the email, or the “report”![]() button in “My Jobs”. (If you do not receive the email, check you email Spam folder)
button in “My Jobs”. (If you do not receive the email, check you email Spam folder)
If the job failed, you will receive an email with title prefix 'Failed CPAS job', in which the Job Status becomes 'Failed'. You can modify the setting based on the 'Reason' stated in the email, and order the refined mesh. (The Job Name and Order Time help you to identify the failed mesh)
As a new job will be shown in “My Jobs” without overriding the preceding Failed job, you are recommended to rename the mesh to avoid confusion when looking-up the job list.
Refine the mesh as new
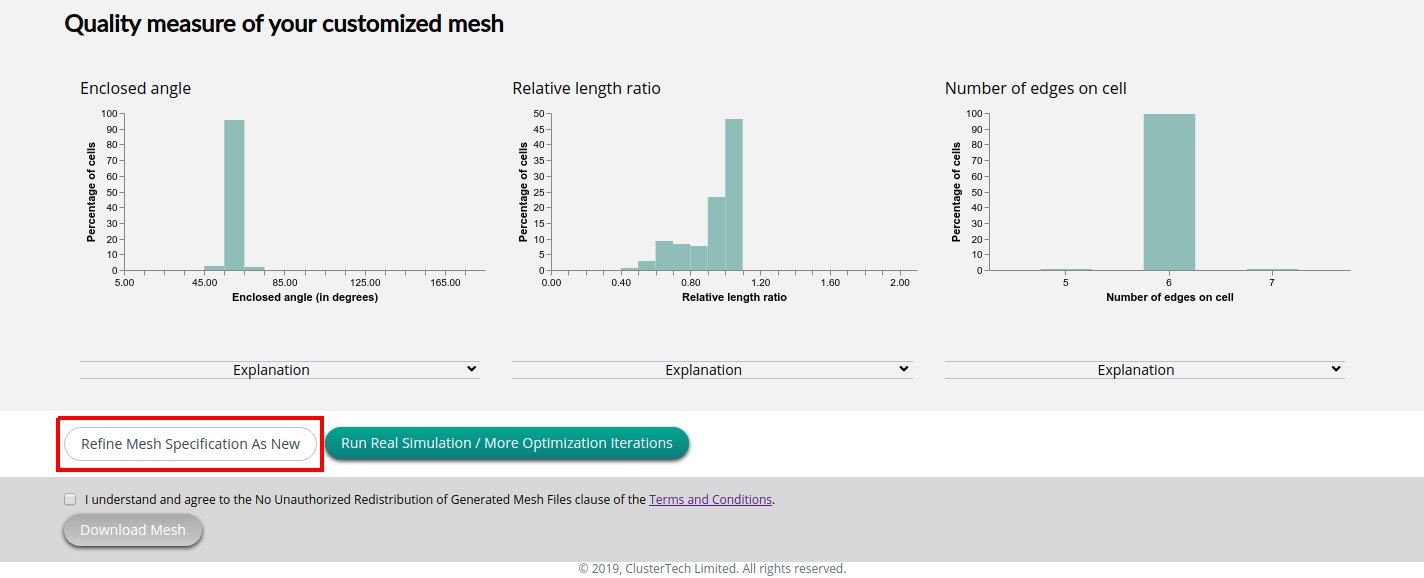
You can adjust the Spec if the resulting mesh does not meet your expectation. Upon clicking “Refine Mesh Specification As New”, you will be directed to the Mesh Customization page of the cloned mesh. Repeat the steps for defining mesh spec, and order the mesh.
After ordering for a refined mesh, a new job will be shown in “My Jobs” without overriding the preceding job, you are recommended to rename the mesh to avoid confusion when looking-up the job list.
More optimization iterations
You can carry out more optimization iterations by clicking “Run Real Simulation / More Optimization iterations”
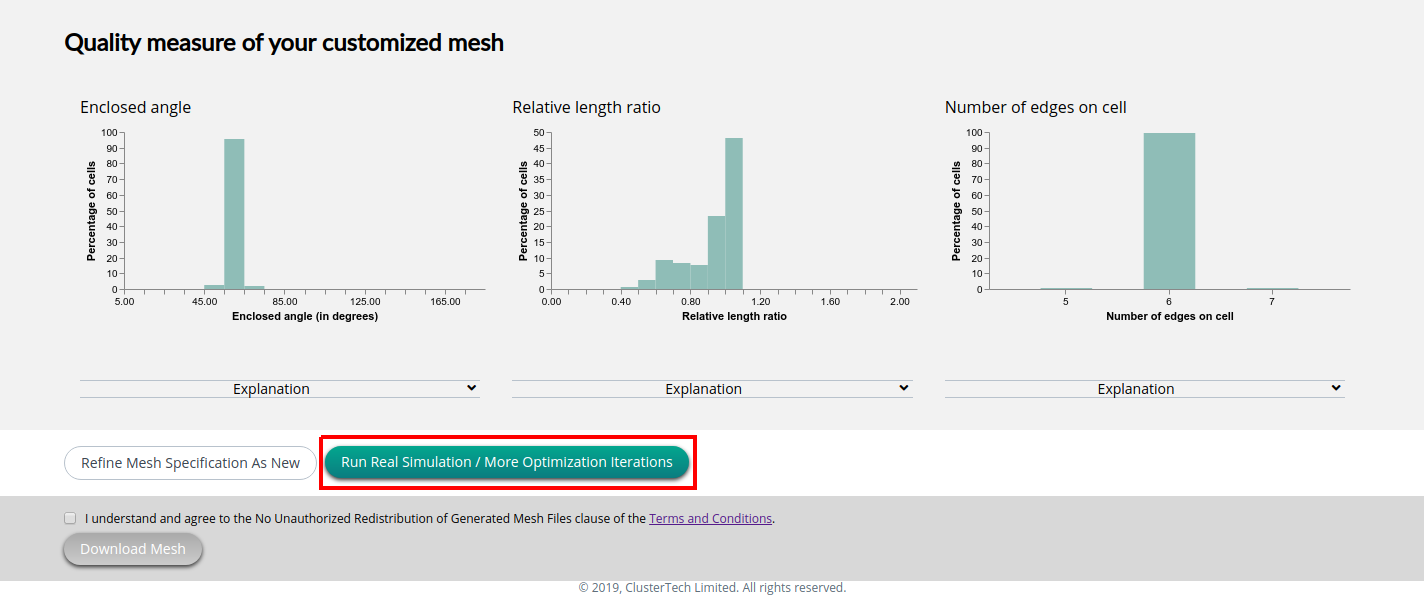
Enter the number of additional optimization iterations, and click “Order”.
After ordering for further optimizations, a new job with an updated 'Job Name' (due to updated total number of optimization iterations) will be shown in “My Jobs”.
| Prev | Back to Mesh Customization |
